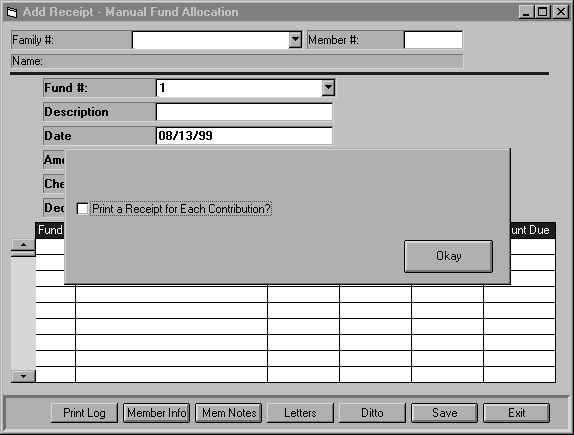
When you select this option, the following screen will appear.

A dialog box will appear in the middle of the screen after you select this program. The dialog box will have a prompt asking you if you want to print receipts. If you do, click the box and click OK. Leave it blank and click OK if you do not want to print receipts with each contribution entered.
You will need to enter the Family Code, Member Code, Fund number, Fund or Transaction Description, Amount Contributed, Date Contributed, Check Number if applicable, and Deductible Amount.
When you've finished, click the <Save> button to save the Contribution. Click the <Exit> button to return to the main menu. Click the <Member Info> button to go to the "Membership" screen.
A list of Assessments, Contributions, Future Assessments, and Amount Due by Fund Number is displayed at the bottom of the screen. After you enter the Family Code and Member Code the list will be filled in with that member's transactions summary. You may use the up and down arrows to the left of the list to scroll the list up and down.